Friday, March 11, 2011

Tinted Flower Paintings

This is a great lesson on color mixing, as well as teaching about tints, shades, hues, and even free-form shapes.  I make it super easy for the 3rd and 4th graders by walking them through painting free-form shapes to create a flower by placing one shape in the middle, and painting flower petals around the shape.  Next, I give each student one brush for their color, one for the white, and one mixing brush.  I had them paint the end of the petal white, the bottom of the petal with the color, and then in the middle, they put one dab of color and one dab of white and mixed it together with the mixing brush.  Breaking down the project like this, makes it simple enough for the younger kids to learn how to blend colors together.
4th Grade examples:

3rd Grade examples:

Wednesday, March 9, 2011

Tinted City Skyline Paintings

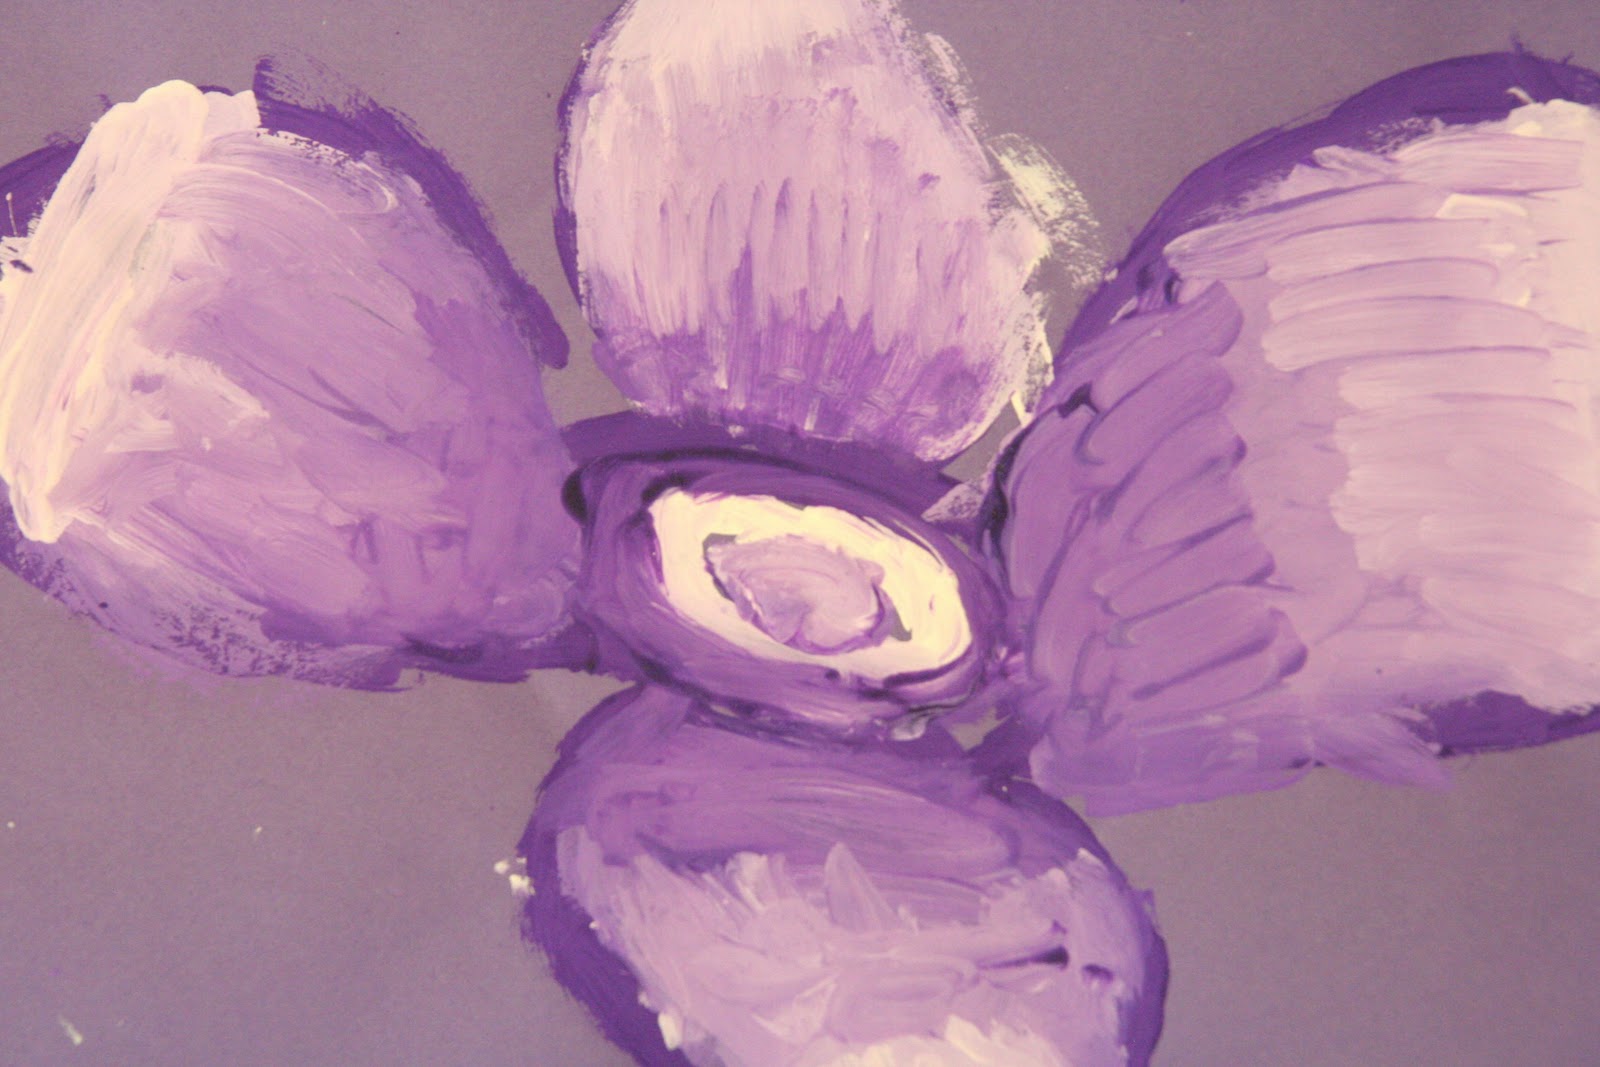
To sum up this painting project, I can only say "Trial and Error".  I love the results, but it has taken me a few years to 'perfect' my teaching strategies to ensure student success.  Lesson learned: try and try again.  The basic idea is to simplify it to the extent where students are allowed one large 'puddle' of white paint in the middle of their palette.  They are allowed to use only one color.  Next, I demonstrate the mixing process and tell them to trust me, even though it looks like the color isn't changing, we are going for a gradual effect.  They have to mix just one dab of color into the entire white 'puddle', leaving no swirls of color or white paint.  We start with a white circle, which is the light source and each ring around that circle is just slightly darker each time.  Today after four people had to start over, I went ahead and told them that they have to mix the dab of color 15 times into the white 'puddle' before painting the next ring, because if they don't mix the color well enough, the ring is much darker from the residual paint left on the paintbrush.  Like I said...trial and error!  These are just the beginning of some very stunning, visually appealing works of art:


Next class period, we will begin our city silhouettes using black construction paper:

Monday, March 7, 2011

Recycled Magazine Flowers

I can use magazines in every season and for every occasion.  For this assignment, I had the students cut out colorful squares from magazine pages, fold them three times to get a small triangle, and cut a petal shape out of the top of the triangle.  We tried to find magazine pages that were contrasting in color, to make the layers really "pop".  Next, we rolled a whole page (preferably a green page) and glued it closed for the stem.  I had some jars that someone donated years ago that I thought would be the perfect place to showcase our boquets: